
Battlecraft 1942 Tutorials
• Preparing One Large Image to edit in Photoshop •
The best thing to do, is to make one large image to edit your textures with. This aids in the aligning of textures such as roads that spread from one of the texture tiles to the other. After you're all done, it'll be easy to split back up with TGAsplitter.
I'll be using my SOC_Pearl_Harbor map as example for this tutorial.
Step 1:
Open Photoshop, if you don't have it already.
Step 2:
Browse to your main Battlefield install directory. Inside you should find a ShadowWork folder. If you don't have it, chances are you haven't generated any terrain shadows, so do that. In the ShadowWork folder you'll find a folder or folders with the names of your custom maps. Open your map folder name and inside you'll find two folders, you'll find all your textures inside the textures folder respectively.
Example Directory Where You'll Find Your ShadowWork for your custom maps.
EA GAMES\Battlefield 1942\ShadowWork\Bf1942\levels\SOC_Pearl_Harbor\textures
Now you'll notice there are two of every file, only one differs in the filename slightly. You want to edit only the ones that are name Tx00x00.tga, Tx00x01.tga, etc. (The ones that are named like: Tx00X00_lgt.tga contain the lightmaps that are merged with the textures you are now going to edit, so leave these alone).
Step 3:
Drag one into Photoshop, check the image size. ( Image >
Image Size )
It should be 1024 x 1024 pixels.
See how many of the texture files you have all together. You'll either have 16, 32 or 64. If its a 256x256 map, you should only have 16 total. My map is 512x512, and I have 64 total texture files, don't ask me why its not 32 for a 512 map, when its only 16 for a 256 size map.
Anyhow, if you have 16 total texture files (not including the ones that have _lgt in them), you'll take 1024 and multiply that by 4, which gives you 4096. With a 256x256 map, the texture tiles are laid down in 4 rows of 4. Unlike a 512x512 map, which has 64 texture tiles laid down in 8 rows of 8.
Step 4:
UPDATE ***07-19-03*** You can download a Photoshop ready file already sized and set with snap guides to make it really easy for you to drag your files and have them lined up properly.
Step 5:
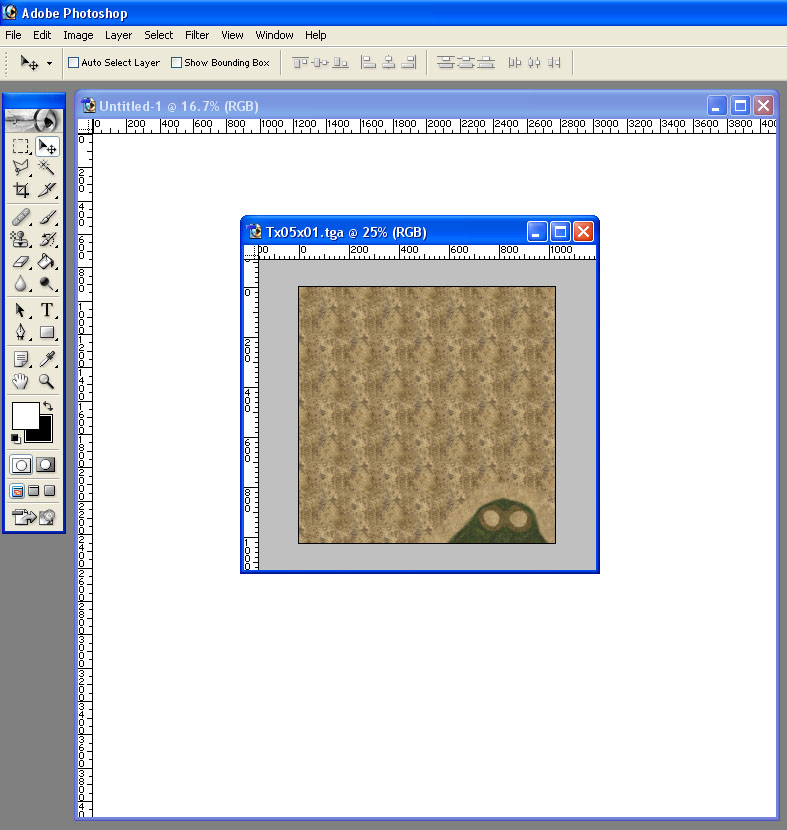
Drag one of the files into Photoshop (Tx00X00.tga). Should look like this:
Step 6:
Now, in Photoshop, use the Move Tool, right next to the Rectangular Marquee Tool and click on the texture tile you just dragged in, and drag it into the large image you created. Then drag the rest in, and line em up. For my map, I'm not starting with the Tx00x00.tga, but you will want to, and put it in the top left like so:
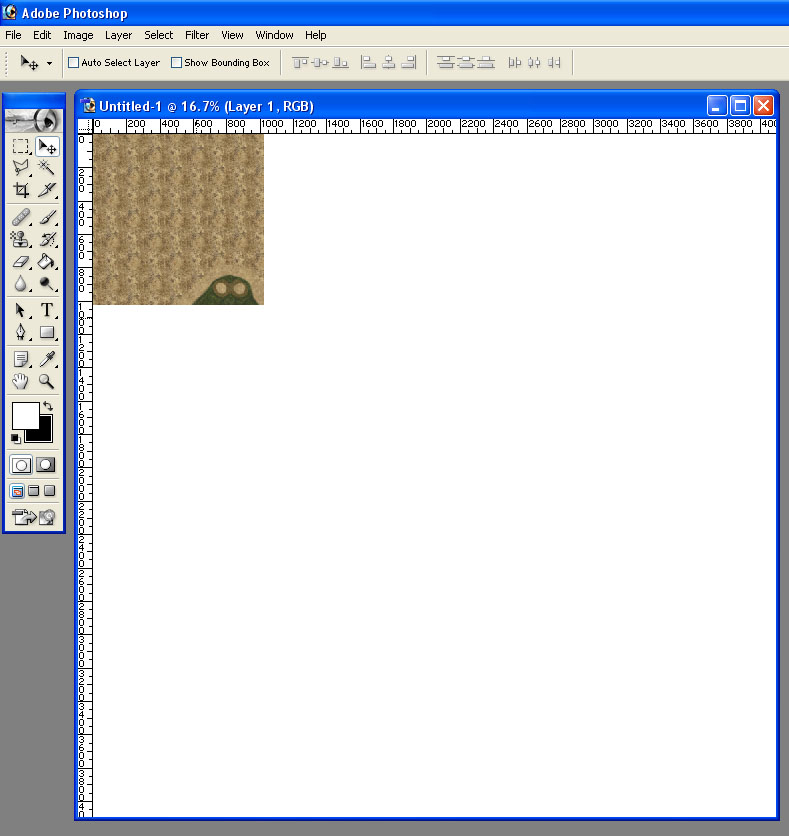
Then continue on and drag the next file, Tx00x01.tga and place it right under the first one. Tx01x00.tga will start at the top of the second row from left to right, Tx02x00.tga will start at the top of the third row, etc, etc.
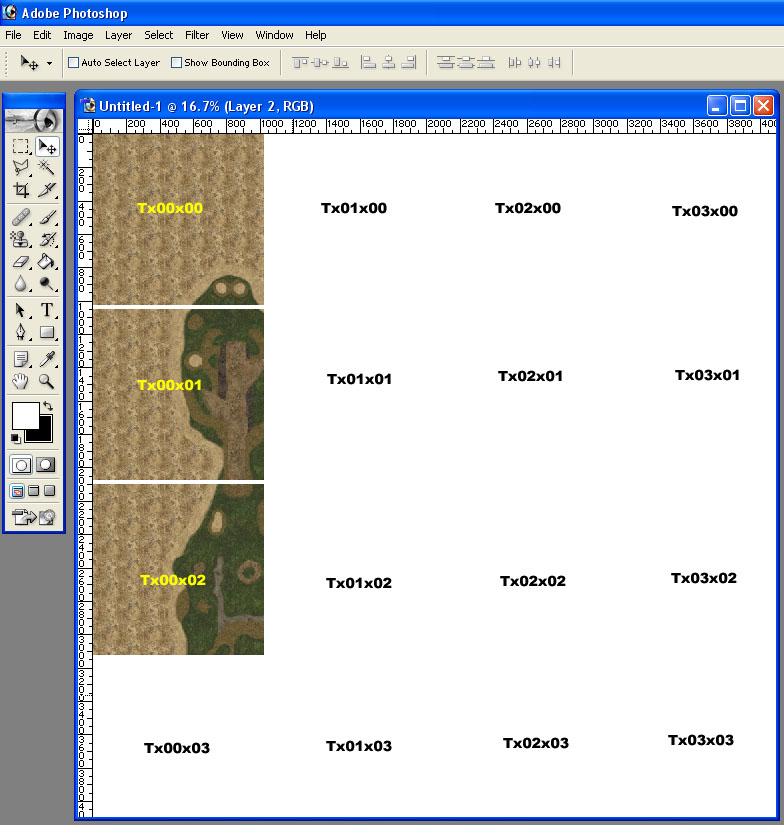
I have placed TEXT over the image below to show ya how the layout system works. It is a bit larger and more tiles with the 8192x8192 image respectively.
Snap all the images in their proper location by dragging them to their place. Once you have all the images in the large image, flatten the image ( Layer > Flatten Image ).
Then, flip the image Vertically, this is how your map looks in the game. For whatever reason, the texture files are flipped vertically. You can flip it vertically using ( Image > Canvas Size > Flip Canvas Vertically )
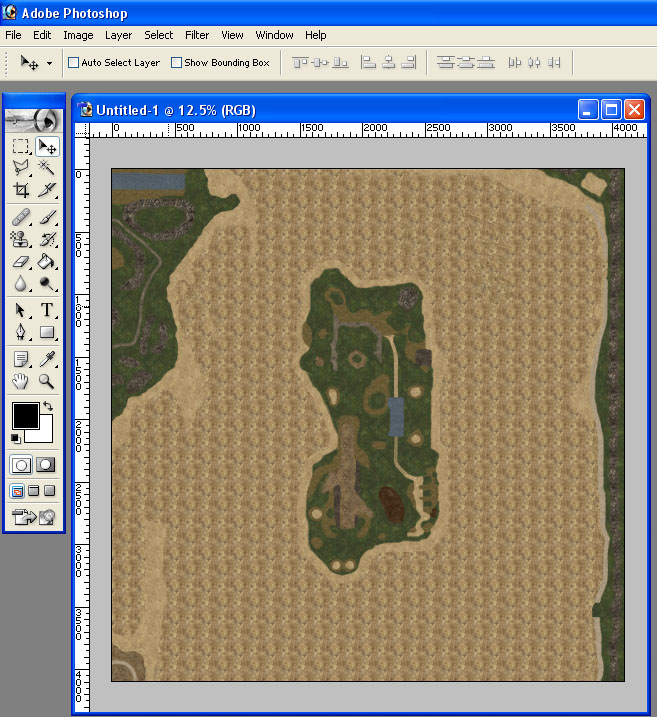
This is what 16 texture tiles look like lined up and ready for editing. Note** My map, is 64 total texture files, I only used 16 of them for this tutorial.
Now just File > SAVE AS a TGA (which may say Targa for the type) file as 24 bits/pixel. Save it somewhere you'll remember where to find it. Use a consistent naming convention with all your custom files to make it easier to find them if you lose them, so for example, name this large image YOURMAPNAME_Big.tga
Now continue on to the: Painting Textures using the Pattern Stamp Tool on your prepared image tutorial.